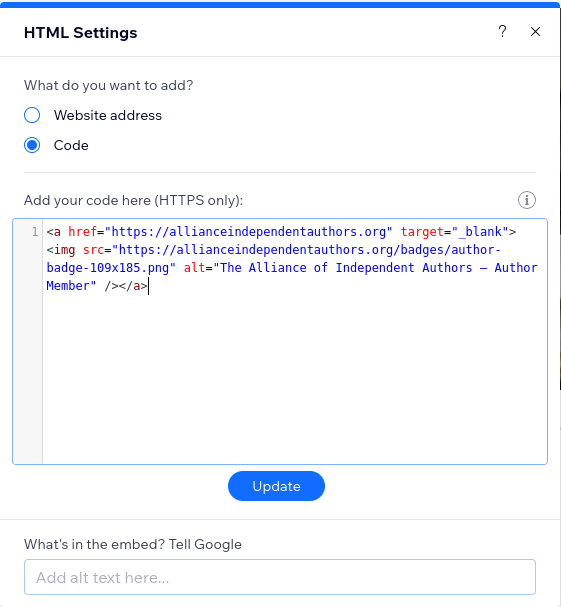
Wix sites are built from a variety of Sections containing Elements of different types. The Embed HTML element allows you to add your ALLi badge code to anywhere on the page. When you have decided where you would like your badge, log into the Wix Editor as you would for any other change.
These instructions are for using the Wix Editor. We have alternative instructions for using the Wix ADI.
Available badges
There are two badges available for your level of membership. The standard version with dark text looks best against pale backgrounds. If your website has a dark background, the light version will probably look better.
To add the badge to your site, copy the code beneath the badge you want and paste it into an Embed HTML element, following the instructions below.
Member badge for pale website
placeholder
Member badge for dark website
placeholder
How to add the Section
In our example, we will add the badge to the footer.

- From the Editor side menu, click the Add + icon
- Find and select Embed Code, then Embed HTML in the list
- Copy and paste your ALLi badge code into the box. Make sure the code is copied exactly, including the < > marks at the start and end
- Click Update
- Drag your new element into place on your page. You can attach it to any existing Section
- You may need to click and drag the outline of the element or section to adjust the height or width to make sure the badge displays in full
- Click Publish to complete your changes

After adding the Section
Your badge will now appear on your website. As with any changes, you should go and check it. Clicking on your new badge should open a new tab displaying the ALLi front page.

 Renew
Renew